
- Last updated
- 2026-08-04
- Game version
- 1.0
- Platforms covered
- PC (Windows, macOS)
- Information type
- Editorial guide with official game facts and unverified community descriptions
Visual build route
Sword and Shield: see the loop first
Convert readable attacks into controlled counter windows
Weapon
Sword and Shield
- Playstyle
- defensive / reactive
- Difficulty
- low
Short-range defensive counter pressure
Build GuideSkill
Shield
Primary route candidate for the current loop.
Sword and ShieldSource: extracted skill data.Skill
Blessing
Conditional support when it solves the current room.
Sword and ShieldSource: extracted skill data.Upgrade / Item
Composure
Upon a successful , recover 10% of your Guard Gauge (30% for a )
Sword and ShieldSource: extracted game data.Boss
Askard
- Known chapter
- Chapter 2 / 3 / 5
- Verified events
- 24
Neutral: Readable calls support observation; chapter mechanics remain unverified.
GuideBoss
Bird Demon
- Known chapter
- Chapter not verified
- Verified events
- 6
Difficult: Aerial movement may reduce short-range access.
GuideOn this page
Playstyle role
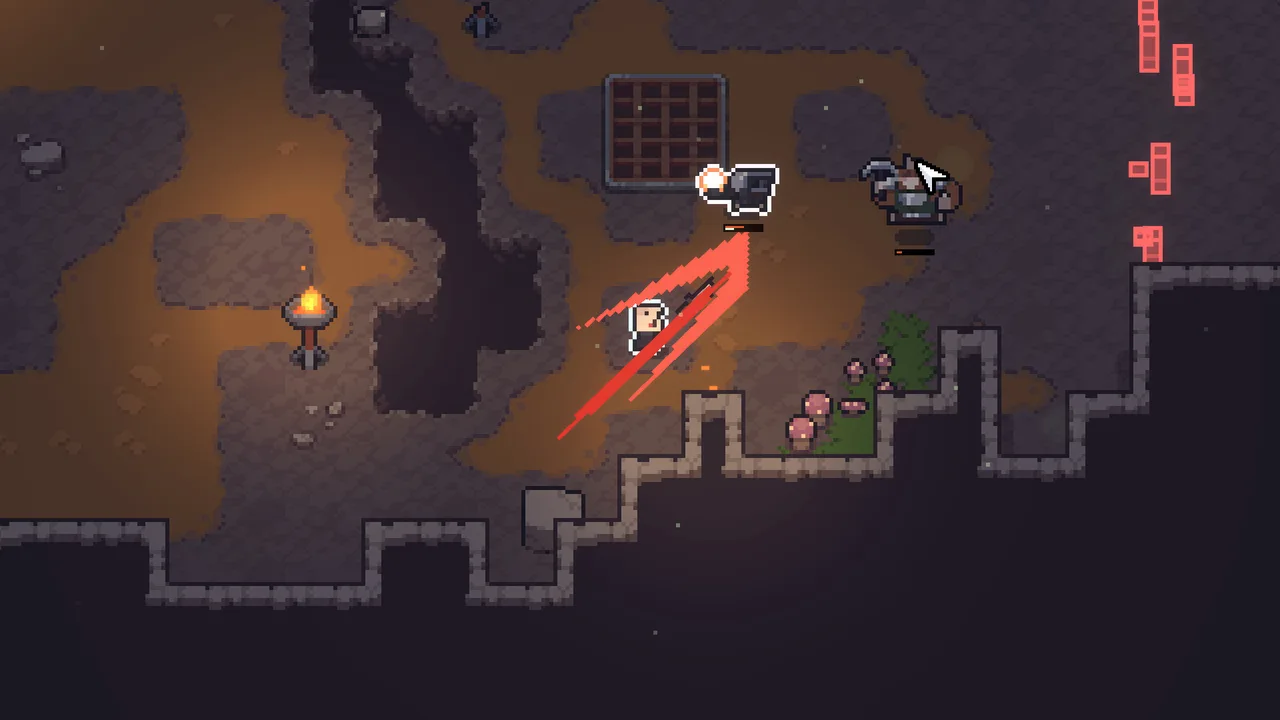
Sword and Shield is Sephiria's defensive weapon family. You hold the shield to block while moving, and a perfect guard opens a counter-attack window. It is a mid-speed, short-range weapon whose identity is surviving long enough to punish.
Reach is short and the counter-attack travels almost no distance, so this build is about reading attacks and standing your ground rather than chasing.
Core combat loop
Approach under the shield, perfect-guard the incoming hit, punish with the counter, then reset behind the shield. The loop is deliberately slow and repeatable.
- Close distance with the shield raised so ranged poke is absorbed.
- Time a perfect guard on the telegraphed attack to trigger the counter window.
- Spend the window on a counter, or on a wide swing when several enemies are clustered.
- Return to guard and reposition before the next exchange.
Who this build suits
New players and anyone who learns by surviving first. Sword and Shield is presented by community players as the most forgiving family: a mistimed guard still blocks, and you can move while shielding.
It also suits players who enjoy reactive, defensive rhythms over execution-heavy offense.
Strengths and weaknesses
Strengths
- Defensive option unique among the melee families; block-while-move.
- Perfect guard converts defense directly into a punish window.
- Community players rate it low-to-mid difficulty and forgiving for new players.
Weaknesses
- Very short range, and the counter-attack barely moves you forward.
- Damage output is slow relative to faster families.
- Mobility-heavy bosses can simply walk out of your punish range.
Room combat
Use the shield to walk through ranged enemies and group melee foes with positioning. When a cluster forms, a single wide swing clears several at once.
Never drop guard to chase a runner; let enemies come to your shield and counter them on arrival.
Boss combat
Treat the boss fight as a guard drill. Spend the first cycle only observing telegraphs, then start perfect-guarding the most readable attack and countering it.
Expand to a second punished attack only when you can still evade the response. Against mobile bosses, accept fewer counters rather than overcommitting forward.
Related entry points
Once the core loop is repeatable, move to the guides that answer your next decision.
- Weapons Guide — compare Sword and Shield against the other five families.
- Boss Guide — turn perfect-guard observation into safer damage.
- Beginner Guide — keep your first runs decision-focused.
- Builds Hub — revisit the other weapon builds when you want to pivot.
Build Summary
Sword and Shield uses short-range defensive counter pressure.
| Field | Answer |
|---|---|
| Role | Short-range defensive counter pressure |
| Range | Melee |
| Pace | Measured |
| Difficulty | low |
| Best for | defensive, reactive |
| Avoid if | You prefer safe ranged play |
| Primary goal | Convert readable attacks into controlled counter windows |
What This Build Is Trying to Achieve
Convert readable attacks into controlled counter windows. Each room should end with the core loop still available; spending its exit or resource plan breaks the build.
Combat Loop
Use this as a decision loop, not an undocumented skill sequence.
- Approach behind guard
- Read one telegraph
- Use the confirmed guard opportunity
- Take one safe punish
- Reset behind the shield
Early Progression
Early goal: make the base weapon loop repeatable before narrowing the route.
- Stabilize guard timing before adding another attack condition.
- Take a defensive fallback while counters are inconsistent.
- Do not chase beyond the short punish range.
- Toughness - Source: extracted upgrades; why: inspect as a stability candidate; Confidence: name verified, recommendation editorial.
- Fallback plan: preserve the basic Sword and Shield loop and take general survival.
Mid-Game Transition
Narrow choices only after the online test succeeds.
- Online test: guard, punish, and reset without losing position.
- Keep the defensive option when choices compete.
- If counters remain unreliable, use ordinary guarded approaches.
Endgame Target
Primary target: a repeatable guard-to-punish loop.
Success means converting only confirmed attacks.
Optional choices should cover range or recovery.
| Target | Selection |
|---|---|
| Core skills | Shield, Blessing |
| Core upgrades/items | Toughness, Composure |
| Optional alternatives | Healing Stream; Slim Cushion |
Core Skills
Skill names are verified in extracted data; roles and timing below are editorial.
- Shield: verified extracted skill name. Role: primary route candidate. Prioritize only when it solves the active loop. Verification: effect and pairing require in-game confirmation.
- Blessing: verified extracted skill name. Role: conditional support. Prioritize only when it solves the active loop. Verification: effect and pairing require in-game confirmation.
- Healing Stream: verified extracted skill name. Role: conditional support. Prioritize only when it solves the active loop. Verification: effect and pairing require in-game confirmation.
Core Upgrades / Items
These are real extracted names, not a numeric ranking.
- Toughness: stability/core formation. Skip when it creates a resource conflict. Name verified; role editorial.
- Composure: stability/core formation. Skip when it creates a resource conflict. Name verified; role editorial.
- Slim Cushion: late conditional reinforcement. Skip when it creates a resource conflict. Name verified; role editorial.
Failure Modes
Use a failed room to identify which part of the loop broke.
- Overcommitting after the counter window
- Short reach against movement
- No fallback after a missed guard
- Chasing out of position
Related Bosses
Ratings are editorial and do not claim official balance.
| Boss | Matchup | Why | Preparation |
|---|---|---|---|
| Askard | Neutral | Readable calls support observation; chapter mechanics remain unverified. | Read verified call-outs, preserve the reset option, and open the boss guide before entering. |
| Bird Demon | Difficult | Aerial movement may reduce short-range access. | Read verified call-outs, preserve the reset option, and open the boss guide before entering. |
Evidence
Sources and further reading
- OfficialSephiria on SteamChecked 2026-08-04
Continue with the Sephiria Builds hub or return to Sephiria Wiki.